- Home
- Special Services
MARINE SERVICES
construction
other services
weld services
- NDT Services
methods
additional services
- About Us
- Locations

International Inspection's Ultrasonic Testing Services
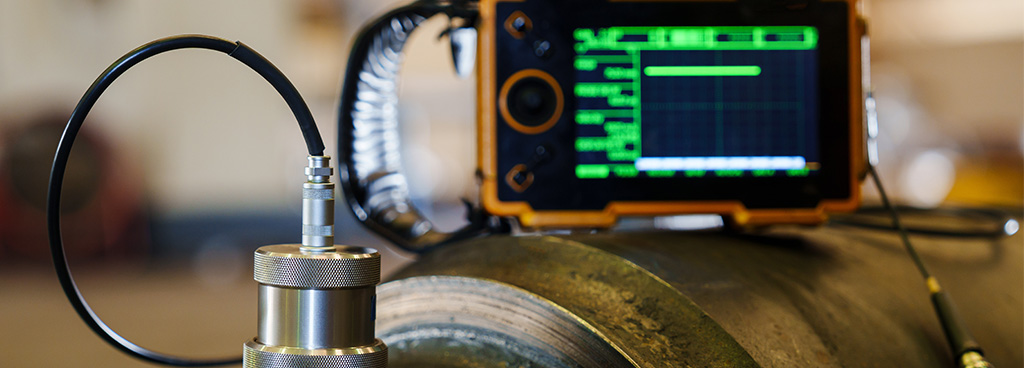
International Inspection performs ultrasonic testing services to clients in a variety of fields. Also known by its abbreviation, UT, this nondestructive testing (NDT) method allows technicians to collect information on indications inside a test material by using sound waves. A handheld transducer sends sound waves through the surface of the subject while an ultrasonic gauge measures both the time they take to bounce back and the strength with which they return. The receiver converts these signals into an interpretable graph that our technicians can use to deduce several of the subject’s subsurface characteristics, such as:
- Material and Coating Thickness
- Internal Defects
- Wall Loss Due to Corrosion
- Effectiveness of Adhesive Bonds
- Incomplete Penetration/Fusion in Welds
Our technicians are ASNT certified to conduct ultrasonic testing to relevant codes. Clients request this method for several applications, including:
- Nondestructive inspection of large assets like structures and machinery
- Examination of soundness of welded elements
- Assessment of candidates’ competency in performing an approved weld procedure
Inspection Capabilities
We employ ultrasonic testing in many of our inspection services, depending on the requested scope of assessment. Whether specifically requested by a client or recommended as a further investigative measure by a visual inspector, UT can serve an important role in characterizing elements of a subject that lie beneath its surface. Ultrasonic testing remains our technicians’ preferred method of recording the thickness of areas of interest in vessel piping, as well as comparing changes in that thickness over time to establish patterns of corrosion loss. They take advantage of the versatility of this method to great effect, discovering subsurface features with access to only one side of the subject as in the case of a boiler’s floor piping.
Weld Assessment
Our inspectors also rely on ultrasonic testing for assessing welded elements on client sites. Its sensitive detection capabilities, portable equipment, and variety of applications make UT a favorite among technicians when examining welded assets on client sites. Not only is ultrasonic testing instrumental in locating the weld defects that may necessitate repair efforts, but this is also the method International Inspection will use to verify the quality of those repair welds. Our talented technicians can quickly determine the location and estimate the size of several types of common weld flaws — including cracks, stringers, slag inclusions, and porosity — by using our powerful UT tool.
Welder Qualification Testing
Finally, International Inspection helps welders achieve certification by providing qualification testing services. By examining the welds that they produce, our experts can verify candidates’ ability to follow an approved welding procedure and certify their competence in performing it. We inspect sample coupons according to relevant welding codes, including the AWS, ASME, and the famously rigorous MIL-STD standard criteria. These welds are assessed for both code compliance and long-term efficacy to determine whether the candidate qualifies for certification.
Presentation of Data
NDT technicians provide the results of their ultrasonic testing in a few different formats, each of which affords a different outlook to help portray the conditions beneath the subject’s surface. International Inspection’s personnel employ the pulse-echo method of UT to quickly and effectively produce scans of subsurface conditions. We present our data in the following methods because of the unique advantages conferred by each one:
A-Scans
Our inspectors use A-scans to display features as peaks in a line graph. This method plots the strength of the signal as it bounces back from subsurface elements (which includes any number of detectable flaws and the material’s back wall) as a function of time. Because technicians scan subject materials in a methodical pattern, they can approximate the size and location of any discontinuities present by interpreting the spikes of reflected sonic energy.
B-Scans
B-scans, on the other hand, are useful for presenting a cross-sectional view of the subject material. This method plots the time it takes for the pulse to reflect off a discontinuity back to the gauge (and thus, also the distance of that reflector from the surface) as a function of the linear position of the transducer. By using B-scans to present the data, technicians can easily show the depth and size of any reflectors within the scanned area.
Rope Access Capabilities
Large assets such as structures and industrial machinery can feature areas high off the ground that need inspection just as much as, if not more than, easily accessible elements close to floor level. Often, inspectors either rent specialized equipment (e.g., a snooper truck for examining the sides of a bridge) or request that site managers put up scaffolding so they can reach the area in question. These are inefficient measures, however, as scaffolding takes time to erect, and both solutions represent a significant additional cost to the client. International Inspection offers rope access capabilities as a cheaper means of inspecting elevated areas of interest.
Our SPRAT-certified rope access contingent can perform ultrasonic testing services — as well as other NDT methods like VT, PT, MT, and RT — many feet in the air by using a rope suspension system. This subset of our larger group of certified technicians is thoroughly trained to conduct the same analysis in the air that they do on the ground in a safe and efficient manner. By always closely observing all associated safety procedures, our rope access technicians’ NDT capabilities afford clients a way to enjoy International Inspection’s thorough UT analysis services on otherwise inaccessible areas for a comparatively low cost.
If your company needs ultrasonic testing services performed by a trusted NDT provider, contact International Inspection today. Our certified technicians can serve your specific UT needs.
